Implementing SVGs
Recently I put together this portfolio website so that recruiters and hiring managers could quickly access my recent projects. I took the opportunity to get more experience with SVGs. I would like to quickly show how I implemented them as links to my social media profiles and for navigating the website.
Here is a short list of the resources I used to get up to speed on SVGs:
Where do I get an SVG?
IcoMoon
I’ve been using IcoMoon to get most of my SVGs of typical icons–like the logos for social media services. Getting SVGs off of IcoMoon is super easy.
- Click the “IcoMoon App” link
- Select your images
- Generate & Download the SVGs
Sketch
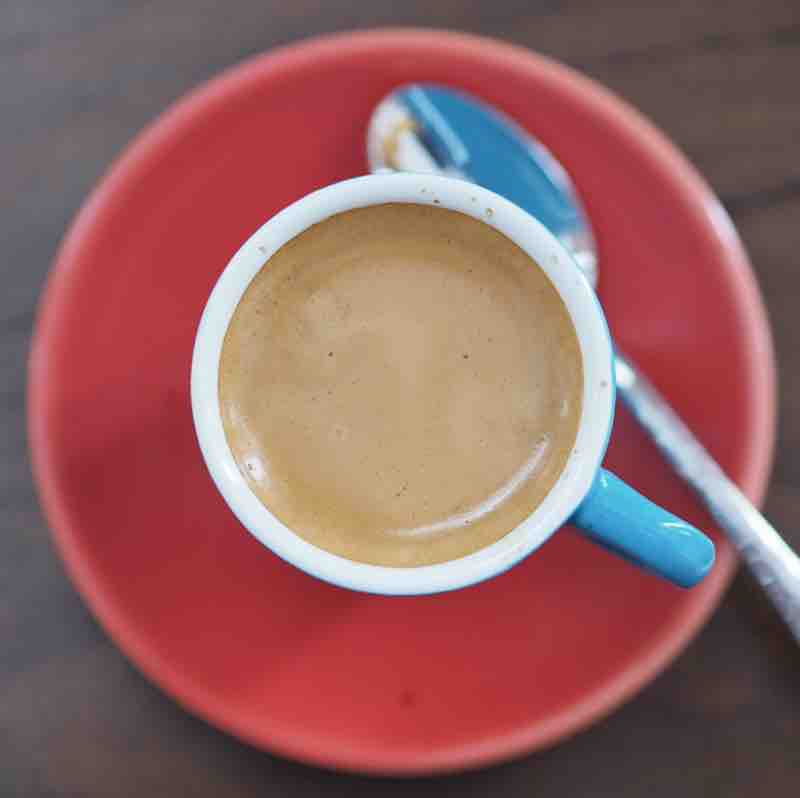
Another way that I typically work with SVGs is through Sketch or Adobe Illustrator. I enjoy working with Sketch and if you aren’t familiar with it check out a tutorial and demo the app. When I want to create my own SVG, I usually download some sort of image similar to it and use that as a basis for my design. For example, I took my photo of a recent espresso and created a simple icon of it:

It’s fairly simple to export your design as an SVG in Sketch or Illustrator, but you do have to watch out for extraneous information. To make the SVG smaller, try using SVGOMG by Jake Archibald which is a GUI for SVGO–a Node based SVG optimizer.
Another plus to creating your own SVG, or at least owning a copy of Sketch or Illustrator, is that you can group a bunch of different graphic together on a canvas and export it for use as a sprite. Sara Soueidan goes into nice detail on how to implement fragment identifiers in this article.
Deciding how to use your SVGs
When you have some SVGs to use in a project, the next step is to determine what the SVG is doing. I like to ask myself the following questions:
- Is the SVG an icon that will be paired with text? If so, maybe I should use it in a pseudo
:beforeor:afterselector since it is not semantically essential and won’t bloat my DOM. - Is it an icon for navigation without text? Then maybe I should use an inline SVG for accessibility purposes. The idea is that I can add a
<title>and<desc>tag in the<svg>. - Is it a background decoration? Then consider linking to the SVG as a
background-image. - How many SVGs am I heading towards? A lot? Then I’ll probably set up SVG sprites.
The <symbol> element
For my portfolio site, I didn’t have many SVGs to implement and most of them required semantic meaning, so I chose to put them inline. After creating my SVGs, or downloading them off of IcoMoon, I put them into a folder (usually an images or assets folder) along side the component they belong to. A typical IcoMoon SVG looks like this:
<?xml version="1.0" encoding="utf-8"?>
<!-- Generated by IcoMoon.io -->
<!DOCTYPE svg PUBLIC "-//W3C//DTD SVG 1.1//EN" "http://www.w3.org/Graphics/SVG/1.1/DTD/svg11.dtd">
<svg version="1.1" xmlns="http://www.w3.org/2000/svg" xmlns:xlink="http://www.w3.org/1999/xlink" width="28" height="28"  viewBox="0 0 28 28">
<path d="M25.375 28h-18.375v-28h8.75v15.75l2.625-3.5h1.75l2.625 3.5v-15.75h2.625c0.484 0 0.875 0.392 0.875 0.875v26.25c0 0.484-0.391 0.875-0.875 0.875zM1.75 27.125v-26.25c0-0.483 0.391-0.875 0.875-0.875h2.625v28h-2.625c-0.484 0-0.875-0.391-0.875-0.875z"></path>
</svg>
My strategy is to add a <symbol> element inside the <svg>. Wrapping the <path> in a <symbol> element allows you to reference the SVG inline. What is required is an ‘id’ attribute, and you can also set up a viewBox for that <symbol> specifically.
...
<svg version="1.1" xmlns="http://www.w3.org/2000/svg" xmlns:xlink="http://www.w3.org/1999/xlink" width="28" height="28">
<symbol id="twitter" viewBox="0 0 28 28">
<path d="..."></path>
</symbol>
</svg>
The <use> element
To implement this SVG, I create a container with the <svg> element in my HTML. The only other element you need is the <use> element , and it will access the id attribute in our <symbol> by using a xlink:href attribute. Since I used “twitter” as the id, our inline SVG would look like this:
<svg>
 <title>Twitter</title>
<use xlink:href="/icons/twitter.svg#twitter"></use>
</svg>
Notice that the href attribute’s value is simply the path to the SVG followed by “#whatever-the-id-is”.
Going forward
That’s how I connected most of my SVGs. I also added a <desc> just inside the <title> to make my SVG more semantic. Here are some nice tips to consider when implementing your SVG.